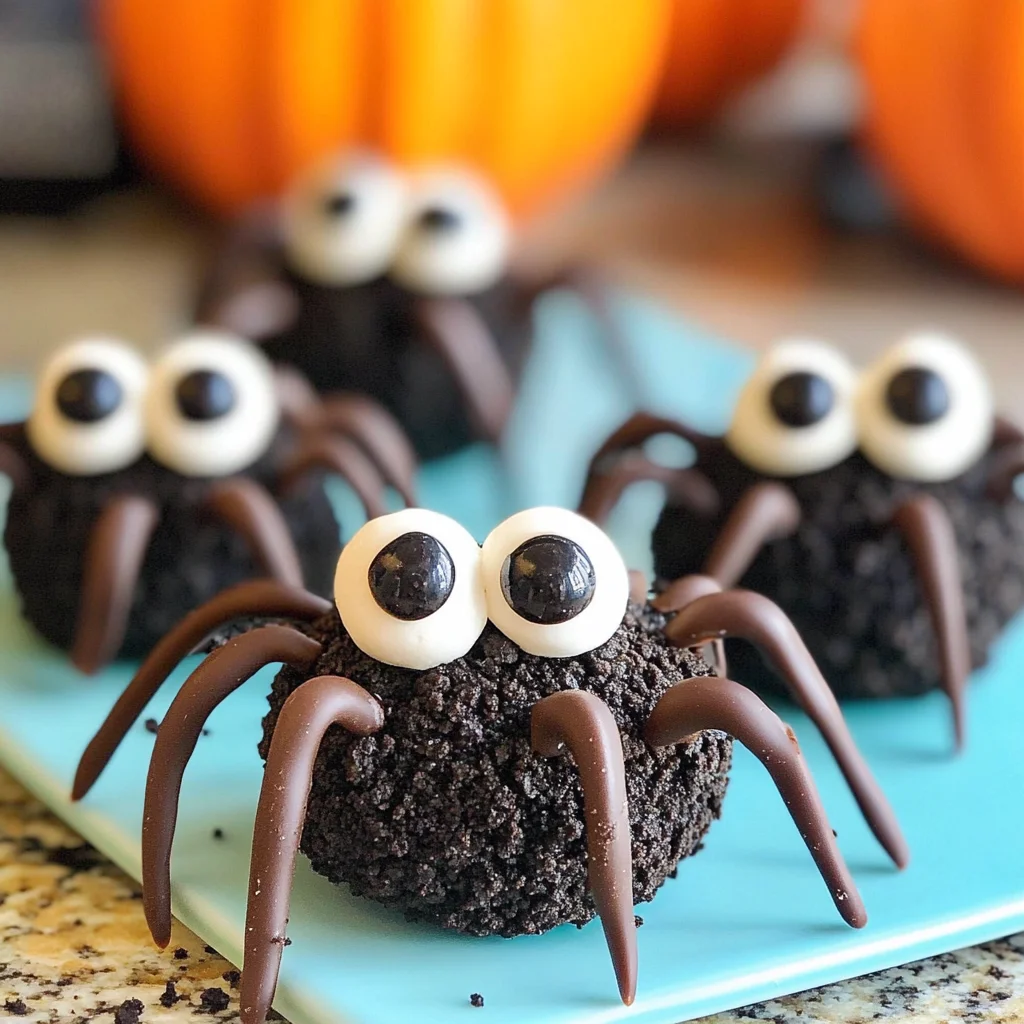
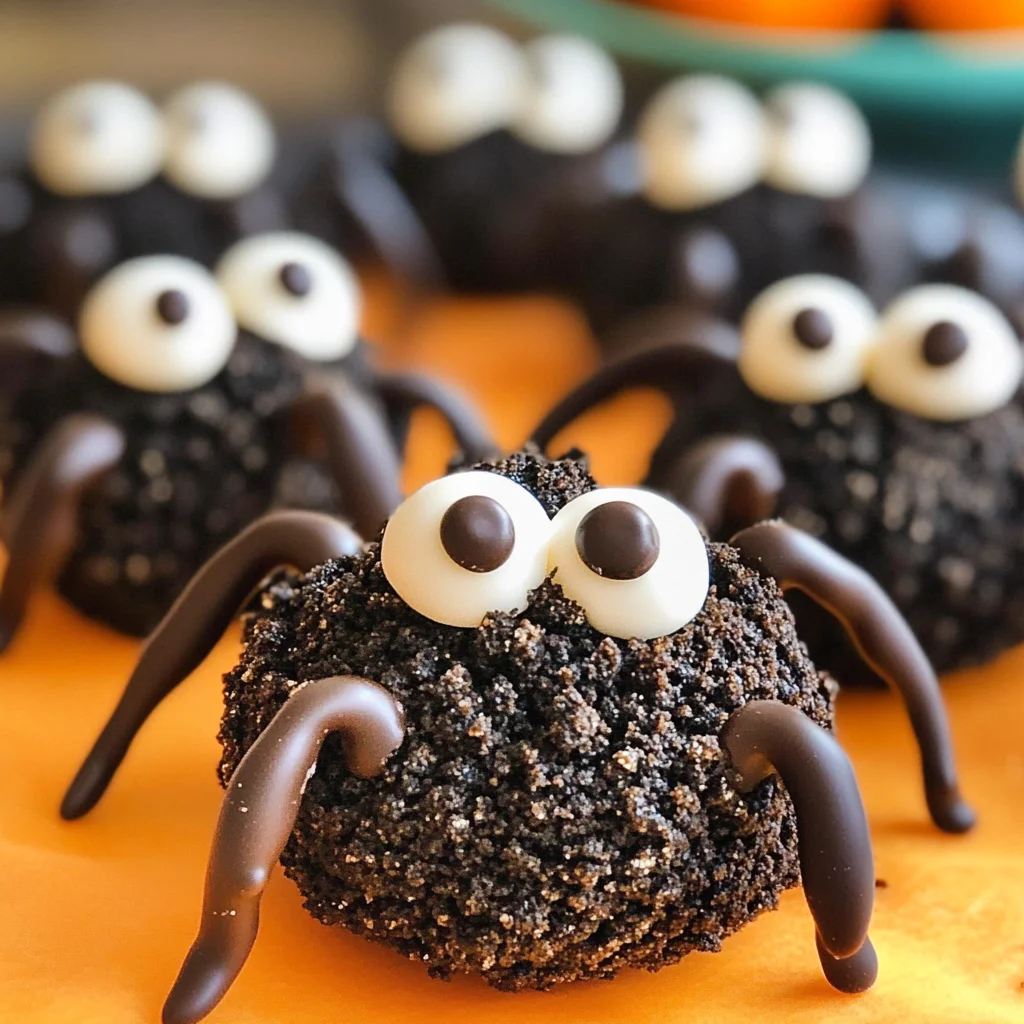
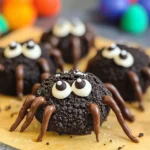
Spider Oreo Treats
If you’re looking for a fun and spooky treat to celebrate Halloween, you’ve come to the right place! These Spider Oreo Treats are not just adorable; they are also incredibly easy to make. With just four simple ingredients, you can whip up these creepy-crawly delights that will impress both kids and adults alike. They’re perfect for family gatherings, school parties, or even a cozy night in watching your favorite Halloween movies.
What makes this recipe special is the combination of creamy goodness from the cream cheese and the classic crunch of Oreos. It’s a delightful blend of flavors that will have everyone coming back for seconds. Plus, making these treats is a wonderful way to bond with your loved ones while crafting something delicious together!
Why You’ll Love This Recipe
- Quick preparation: With only 10 minutes of prep time, you can easily fit this into your busy schedule.
- Family-friendly fun: Kids love getting involved in making these cute spider treats—it’s a great activity for all ages!
- Make-ahead convenience: You can make these ahead of time and store them in the fridge until you’re ready to serve.
- Delicious flavor: The combination of rich cream cheese and chocolatey Oreos creates an irresistible taste.
- Perfectly spooky: These treats are not only tasty but also add a festive flair to any Halloween celebration!
Ingredients You’ll Need
To create these adorable Spider Oreo Treats, you’ll need some simple and wholesome ingredients that you might already have in your pantry. Here’s what you’ll need:
- 18 oz. package of Oreo cookies
- 8 oz. cream cheese (softened)
- 6 oz. chocolate melting wafers
- 50 candy eyeballs
Variations
The beauty of these Spider Oreo Treats is their flexibility! You can easily customize them to suit your taste or dietary needs. Here are some fun ideas:
- Try different cookies: Swap out the Oreos for chocolate mint or peanut butter cookies for a unique twist!
- Add sprinkles: If you want to make them extra festive, sprinkle some colored sugar or Halloween-themed sprinkles over the chocolate legs.
- Use different candies: Instead of candy eyeballs, use mini marshmallows or M&M’s for eyes—let your creativity shine!
- Go gluten-free: Use gluten-free Oreos to make sure everyone can enjoy these spooky treats.
How to Make Spider Oreo Treats
Step 1: Prepare the Oreo Crumbs
Start by putting the Oreos into a food processor until they turn into very fine crumbs. This step is crucial because it creates the base for our spider bodies. You’ll want that perfect texture so they stick together nicely with the cream cheese.
Step 2: Mix with Cream Cheese
Next, take out about 2/3 cup of those crumbs and set them aside for later use. Cut your softened cream cheese into chunks and add it to the food processor with the remaining Oreo crumbs. Blend everything together until it’s well mixed. This mixture will be the delicious filling that holds your spider treats together!
Step 3: Forming the Spider Bodies
Now it’s time to get your hands a little messy! Scoop out small balls of the Oreo mixture using a spoon, tablespoon measuring cup, or melon baller, and roll each scoop into a little ball. Once you’ve formed all your spiders’ bodies, roll each one in the reserved Oreo crumbs until they’re fully coated. This adds texture and enhances that classic cookie flavor!
Step 4: Create Spider Legs
Melt your chocolate in a small microwavable bowl, stirring every 20 seconds until it’s completely smooth. Transfer this melted chocolate into a squeeze bottle or ziplock bag with a tiny cut in one corner. On a piece of parchment paper placed on a baking sheet, pipe lines that look like spider legs (think L shapes). This part is super fun—get creative with how you want those legs to look!
Step 5: Chill Until Firm
Pop that cookie sheet filled with spider legs into the freezer for about 10 minutes or until they harden completely. Chilling is essential here; it helps ensure those legs keep their shape when we attach them later.
Step 6: Assemble Your Spiders
Take one candy eyeball at a time and place a small dot of melted chocolate on it before sticking it onto each spider’s body. This gives them their adorable little eyes!
Step 7: Add The Legs
Finally, once those chocolate legs are hardened, it’s time to finish off each spider by inserting six legs into their bodies. And there you have it! Your very own batch of delightful Spider Oreo Treats ready to share (or devour yourself)! Enjoy every bite!
Pro Tips for Making Spider Oreo Treats
These adorable Spider Oreo Treats are sure to be a hit, and with a few pro tips, you’ll make them even more delightful!
- Use fresh cream cheese: Fresh cream cheese blends better with the Oreo crumbs and creates a smoother texture, resulting in a tastier treat.
- Chill the mixture: If the Oreo cream cheese mixture feels too soft to roll into balls, pop it in the fridge for about 10 minutes. This helps the mixture firm up, making it easier to shape.
- Get creative with leg shapes: Don’t worry about making perfect spider legs! The quirky shapes can add to the charm of your treats and make them even more fun.
- Mix chocolate colors: Consider using colored melting wafers (like orange or purple) to add festive flair. It not only makes them look great but also gives an extra chocolatey flavor!
- Make ahead for parties: You can prepare these treats a day in advance. Just keep them stored in an airtight container in the fridge until you’re ready to serve.
How to Serve Spider Oreo Treats
Serving these Spider Oreo Treats is just as fun as making them! Here are some creative ideas to impress your family and friends this Halloween.
Presentation Ideas
You can arrange the spider treats on a spooky platter or use Halloween-themed decorations like mini pumpkins, cobwebs, or ghostly figures around them. A simple yet effective way to present these treats is by placing them on black serving plates that enhance their creepy-crawly appeal.
Garnishes
- Chocolate drizzle: Drizzling some melted chocolate over the top adds a delicious touch and makes the spiders look even more enticing.
- Edible glitter: Sprinkling some edible glitter on top of each spider can give them an extra sparkle that’s perfect for Halloween festivities.
- Candy corn: Scatter some candy corn around the platter for color contrast and seasonal flair.
Side Dishes
- Pumpkin spice cupcakes: These moist and spiced cupcakes complement the chocolatey flavor of your Spider Oreo Treats perfectly, adding a seasonal touch.
- Witch’s brew punch: A refreshing punch made with green apple soda and lime sherbet provides a fizzy accompaniment that delights both kids and adults alike.
- Cheese platter: A selection of cheeses with crackers offers a savory balance to the sweetness of your treats. Add some apple slices for a crunchy contrast!
- Veggie sticks with dip: Provide a healthy option alongside your sweet treats. Crunchy carrots, celery, and bell peppers served with hummus or ranch dip are always popular!
With these tips in mind, your Spider Oreo Treats will not only taste amazing but will also be show-stoppers at any gathering. Enjoy creating this delightful treat!
Make Ahead and Storage
These Spider Oreo Treats are perfect for meal prep! You can easily make them ahead of time for parties or family gatherings, saving you time on the day of the event.
Storing Leftovers
- Place any leftover spider treats in an airtight container.
- Store them in the refrigerator for up to 5 days.
- To maintain their texture, separate layers with parchment paper.
Freezing
- Freeze individual spider treats by placing them on a baking sheet and freezing until solid.
- Transfer the frozen treats to an airtight container or freezer bag.
- They can be stored in the freezer for up to 3 months.
Reheating
- There’s no need to reheat these treats; simply remove them from the fridge or freezer and enjoy!
- If you prefer them slightly softened, let them sit at room temperature for about 10 minutes before serving.
FAQs
Here are some common questions about making Spider Oreo Treats.
Can I use other types of cookies instead of Oreos for Spider Oreo Treats?
Absolutely! While Oreos give a distinctive flavor, you can experiment with chocolate sandwich cookies or even vanilla cookies to create your own variation of Spider Oreo Treats.
How do I make my Spider Oreo Treats look more festive?
You can decorate your Spider Oreo Treats with colored melting chocolate or sprinkle edible glitter on top. This adds a fun twist to the classic design!
What if I don’t have candy eyeballs for my Spider Oreo Treats?
If you can’t find candy eyeballs, you can use small chocolate chips or even pieces of white chocolate with a dot of dark chocolate as eyes. It’ll still be adorable!
Can I make Spider Oreo Treats vegan?
Yes! Substitute regular cream cheese with a plant-based cream cheese alternative and ensure your cookie choice is vegan-friendly.
Final Thoughts
I hope you enjoy making these delightful Spider Oreo Treats as much as I do! They’re not only adorable but also incredibly simple to whip up, making them a great addition to any Halloween celebration. Get creative and have fun with your decorations! I’m excited for you to share these spooky yet sweet treats with friends and family. Happy baking!
Spider Oreo Treats
Create fun and delicious Spider Oreo Treats this Halloween! Easy to make, they’re perfect for parties. Try this spooky recipe today!
- Prep Time: 10 minutes
- Cook Time: N/A
- Total Time: 0 hours
- Yield: Approximately 20 servings 1x
- Category: Dessert
- Method: No-bake
- Cuisine: American
Ingredients
- 18 oz Oreo cookies
- 8 oz softened cream cheese
- 6 oz chocolate melting wafers
- 50 candy eyeballs
Instructions
- Prepare the Oreo crumbs by processing the cookies into fine crumbs in a food processor.
- Set aside about 2/3 cup of the crumbs. Blend the remaining crumbs with softened cream cheese until smooth.
- Form small balls from the mixture, rolling them in the reserved Oreo crumbs to coat.
- Melt chocolate wafers in short intervals in the microwave until smooth; use this to pipe spider legs on parchment paper.
- Chill the legs until firm. Attach candy eyeballs to each spider body using a dot of melted chocolate, then insert the chocolate legs.
Nutrition
- Serving Size: 1 serving
- Calories: 150
- Sugar: 10g
- Sodium: 60mg
- Fat: 8g
- Saturated Fat: 4g
- Unsaturated Fat: 3g
- Trans Fat: 0g
- Carbohydrates: 19g
- Fiber: 1g
- Protein: 2g
- Cholesterol: 15mg