Halloween Charcuterie Board
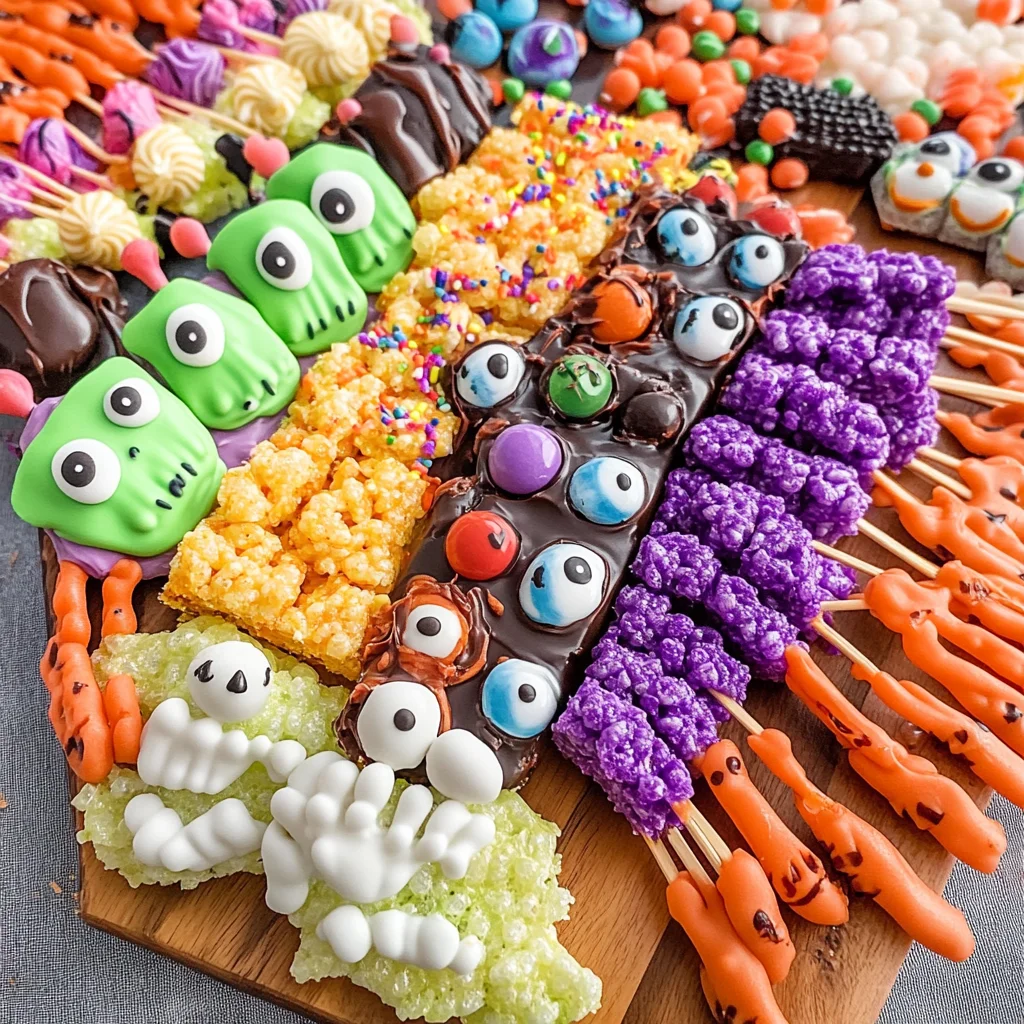
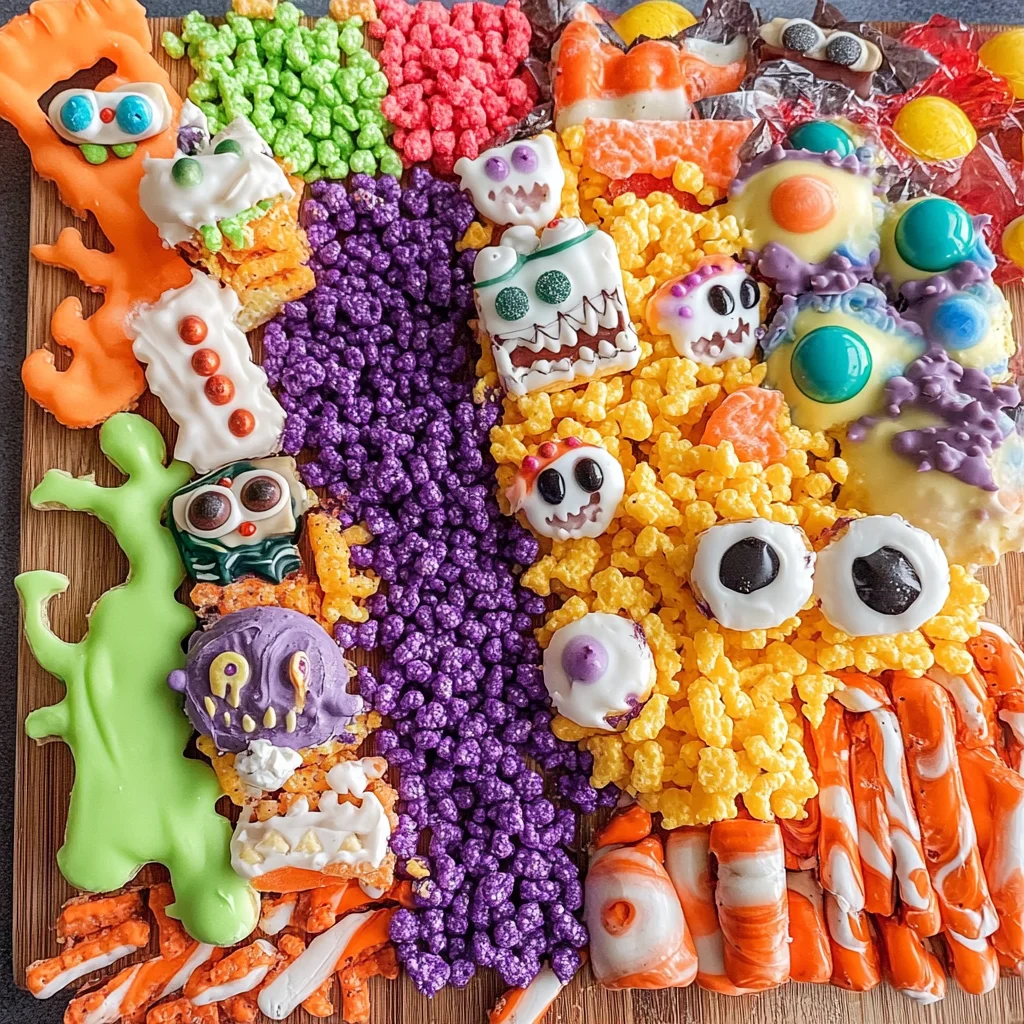
If you’re looking for a fun and festive way to celebrate Halloween, this Halloween Charcuterie Board is just what you need! It’s not only a delightful feast for the eyes but also a treat for the taste buds. Packed with colorful candies, chocolate-dipped “creatures,” and a whimsical skeleton centerpiece, it brings joy to any gathering. Whether you’re hosting a spooky movie night or a lively Halloween party, this board will surely be the highlight of your festivities.
What I love most about this recipe is how easy it is to prepare. You can customize it based on your preferences and the little ones can even join in on the fun! Plus, it’s perfect for sharing—everyone loves picking their favorite treats from the board!
Why You’ll Love This Recipe
- Easy to Prepare: With simple steps and minimal cooking required, this board comes together quickly.
- Family-Friendly Fun: Kids will love helping create the spooky treats and decorating the board!
- Scalable: Adjust the quantities easily based on your guest list—make it as big or small as you need.
- Deliciously Sweet: A variety of candies means there’s something for everyone’s sweet tooth.
- Perfect for Any Occasion: Great not just for Halloween but also for fall gatherings or school parties!
Ingredients You’ll Need
Gathering these ingredients is part of the fun! They are all simple and wholesome, making it easy to bring this Halloween Charcuterie Board to life.
For the Monster Treats
- 8 rice krispie treats
- 5 ounces white chocolate melting wafers
- purple food dye
- candy eyes
- purple sprinkles
For the Witch Fingers
- 8 pretzel rods
- 10 ounces white chocolate melting wafers
- green food dye
- sliced almonds
For the Ghosts
- 8 Nutter Butter cookies
- 5 ounces white chocolate melting wafers
- mini chocolate chips
For the Bats
- 8 Mini Reese’s Cups
- 8 Oreo Thins
- candy eyes
Additional Candy
- 18 ounces Smarties
- 16 ounces red licorice
- 15 ounces Assorted Hershey’s Candy
- 28 ounces sour pectin-based gummy candies
- 40 ounces candy corn
Variations
This recipe is wonderfully flexible, which means you can get creative and make it your own. Here are some fun variations to try:
- Add Seasonal Fruits: Incorporate slices of apples or pears for a fresh twist amidst all the sweets.
- Use Different Candies: Swap out Smarties for M&M’s or use gummy worms instead of gummy candies.
- Create Your Own Treats: Get inventive with other cookie shapes or favorite treats your family loves!
- Change Up Colors: Use different food dyes to match your party theme—think orange, black, or even green!
How to Make Halloween Charcuterie Board
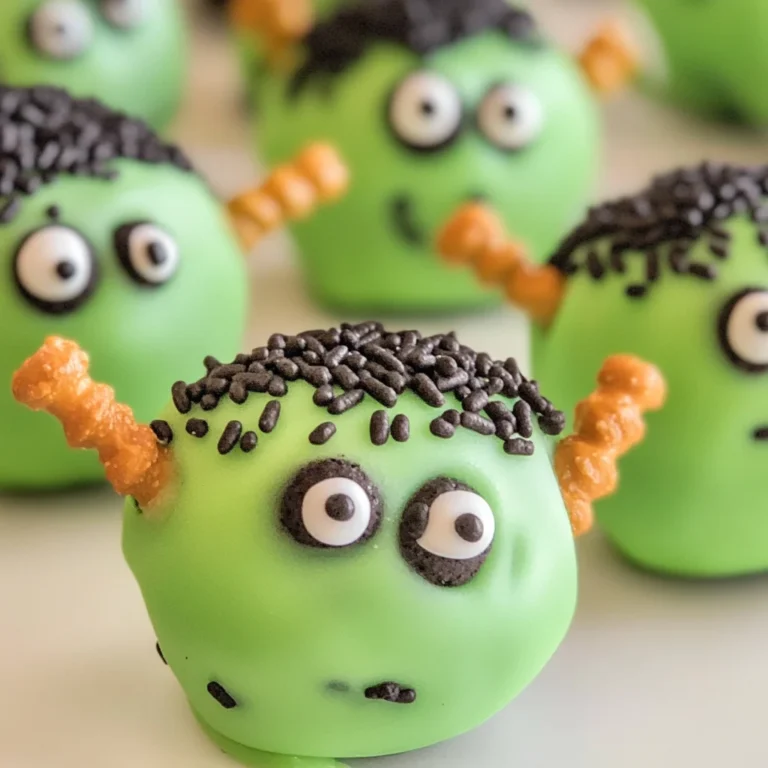
Step 1: Make the Monster Treats
Start by melting the white chocolate melting wafers according to package instructions (you can use a microwave or double boiler). Once melted, mix in purple food dye until you reach your desired shade. Dip one side of each Rice Krispie Treat into the chocolate and place candy eyes on top while it’s still wet. Add purple sprinkles like hair and set them on parchment paper to cool. This step adds a playful touch that kids will adore!
Step 2: Create Witch Fingers
Melt more white chocolate wafers, this time mixing in green food dye. Pour into a tall cup for easier dipping. Dip each pretzel rod into the melted chocolate and place sliced almonds on one end to resemble fingernails. Again, set these on parchment paper until they harden. These witch fingers are not only cute but add an eerie vibe to your board.
Step 3: Assemble Ghosts
For these spooky treats, melt another batch of white chocolate wafers. Dip one side of each Nutter Butter cookie into the melted chocolate and attach two mini chocolate chips for eyes and one for a mouth before letting them cool on parchment paper. These ghostly delights are sure to bring smiles!
Step 4: Make Bats
Unwrap Mini Reese’s Cups without removing their inner lining. Open up each Oreo cookie and scrape out the filling (don’t toss that delicious cream!). Break each cookie in half to create bat wings. Spread some creme filling onto each Reese’s Cup and attach cookie halves as wings using more filling. Finally, secure candy eyes with additional creme filling for an adorably spooky look!
Step 5: Create Your Board Layout
Start by placing a skeleton figure diagonally across your serving board—this will be your centerpiece! Stuff its rib cage with assorted candies like Smarties or licorice. Then fill in any gaps around the skeleton with more candy and larger decorated treats. This visual arrangement makes everything more enticing!
Step 6: Fill with Candy
Finally, go wild filling in any empty spaces with all those delicious candies—from gummy worms to candy corn—creating an inviting spread that looks almost too good to eat.
And there you have it! Your delightful Halloween Charcuterie Board is ready to impress friends and family alike! Enjoy every yummy bite!
Pro Tips for Making Halloween Charcuterie Board
Creating the perfect Halloween charcuterie board is a fun and creative experience! Here are some tips to make your board a spooky success.
-
Plan Your Layout: Start by arranging larger items first, like your skeleton centerpiece and big chocolate treats. This creates a balanced visual that draws the eye.
-
Mix Textures: Incorporate different textures by adding crunchy elements like pretzels alongside chewy candies. This variety makes the board more interesting and enjoyable for everyone.
-
Use Seasonal Colors: Stick to a Halloween color palette of purple, orange, and black when choosing candies and decorations. It ties everything together and enhances the festive spirit.
-
Make it Interactive: Provide small tongs or spoons for guests to serve themselves. This not only keeps things hygienic but also adds an element of fun as they mix and match their favorites.
-
Prepare Ahead of Time: Many components can be made in advance, allowing you to assemble the board right before serving. This will give you more time to enjoy the festivities!
How to Serve Halloween Charcuterie Board
Presenting your Halloween charcuterie board can be just as fun as making it! With a little creativity, you can wow your guests with a spooktacular display!
Garnishes
- Edible Glitter: A sprinkle of edible glitter over some treats can add a magical sparkle that’s perfect for Halloween.
- Fresh Herbs: Use sprigs of mint or basil to add a pop of color and freshness that contrasts beautifully with sweet treats.
- Pumpkin Seeds: Roasted pumpkin seeds lend an earthy flavor and crunchy texture while embracing the fall theme.
Side Dishes
- Spooky Veggie Platter: Create a colorful assortment of fresh veggies like bell peppers, carrots, and cucumbers served with hummus or ranch dip for a healthy crunch.
- Witch’s Brew Soup: A warm soup like pumpkin or butternut squash complements the sweet elements on your board while providing comfort on chilly autumn evenings.
- Creepy Cheese Platter: Pair some mild cheeses (like mozzarella or cheddar) with ghost-shaped crackers for a savory option that balances out all the sweetness.
- Mummy Dogs: Wrap crescent dough around hot dogs to create mummy-like shapes; bake until golden for an easy treat that’s both cute and delicious.
With these tips and serving suggestions, you’re bound to impress your guests at any Halloween gathering! Enjoy assembling your delightful Halloween charcuterie board!
Make Ahead and Storage
This Halloween Charcuterie Board is not only delightful but also perfect for meal prep! You can prepare many of the components ahead of time, making it easier to assemble when it’s time for your spooky festivities.
Storing Leftovers
- Keep any leftover treats in an airtight container at room temperature.
- Consume within 3-4 days for the best taste and texture.
- If the chocolate-covered items start to soften, store them in the fridge for a firmer texture.
Freezing
- While it’s best enjoyed fresh, you can freeze some components like the Monster Treats and Witch Fingers.
- Wrap each item individually in plastic wrap and place them in a freezer-safe bag.
- Use within 1 month for optimal flavor.
Reheating
- If you’d like to serve your treats warm, let them thaw completely in the fridge overnight before enjoying.
- Reheat chocolate-dipped items carefully in the microwave at low power, checking every few seconds to avoid melting too much.
FAQs
Here are some common questions about the Halloween Charcuterie Board recipe:
Can I customize my Halloween Charcuterie Board?
Absolutely! Feel free to swap out candies or add seasonal snacks that your family loves. The fun lies in personalizing it!
How do I make a Halloween Charcuterie Board?
Making a Halloween Charcuterie Board involves preparing fun treats like Monster Treats and Witch Fingers, arranging them creatively, and filling spaces with candy. It’s all about having fun with presentation!
What should I serve alongside my Halloween Charcuterie Board?
You could pair it with festive drinks like apple cider or pumpkin spice smoothies. Adding some savory options can balance out all the sweetness!
Can I use different types of chocolate?
Yes! Dark or milk chocolate can be used instead of white chocolate if you prefer a different flavor profile.
How many people does this Halloween Charcuterie Board serve?
This board serves about 32 people, making it ideal for parties or gatherings!
Final Thoughts
Creating this Halloween Charcuterie Board is such a joyful experience! It blends creativity with deliciousness, making it perfect for gatherings with family and friends. I hope you enjoy putting this together as much as I do—it’s sure to be a hit at your next spooky celebration. Happy decorating, and may your Halloween be filled with laughter and sweet treats!
Halloween Charcuterie Board
Get ready to celebrate Halloween with a fun and vibrant Halloween Charcuterie Board that’s sure to wow your guests! This delightful spread features a variety of spooky treats, colorful candies, and whimsical creations like Monster Treats and Witch Fingers. Perfect for parties, movie nights, or any festive gathering, this board is not just visually appealing but also incredibly easy to assemble. The best part? Kids can join in on the fun by helping to create these playful snacks! With endless customization options, this charcuterie board brings together sweet and savory elements for everyone to enjoy.
- Prep Time: 30 minutes
- Cook Time: 10 minutes
- Total Time: 40 minutes
- Yield: Serves approximately 32 people 1x
- Category: Dessert
- Method: No cooking required (assembly)
- Cuisine: American
Ingredients
- 8 rice krispie treats
- 5 ounces white chocolate melting wafers
- purple food dye
- candy eyes
- purple sprinkles
- 8 pretzel rods
- 10 ounces white chocolate melting wafers
- green food dye
- sliced almonds
- 8 Nutter Butter cookies
- 5 ounces white chocolate melting wafers
- mini chocolate chips
- 8 Mini Reese's Cups
- 8 Oreo Thins
- candy eyes
- 18 ounces Smarties
- 16 ounces red licorice
- 15 ounces Assorted Hershey's Candy
- 28 ounces sour pectin-based gummy candies
- 40 ounces candy corn
Instructions
- For Monster Treats: Melt white chocolate wafers; mix in purple food dye. Dip Rice Krispie treats and add candy eyes and sprinkles. Cool on parchment paper.
- For Witch Fingers: Melt more white chocolate with green dye. Dip pretzel rods and attach sliced almonds for nails; cool.
- For Ghosts: Dip Nutter Butter cookies in melted white chocolate; attach mini chocolate chips as eyes.
- For Bats: Attach cookie wings to Mini Reese's Cups using cookie crème. Add candy eyes.
- Assemble the board creatively with assorted candies filling in gaps.
Nutrition
- Serving Size: 1 serving
- Calories: 150
- Sugar: 15g
- Sodium: 50mg
- Fat: 7g
- Saturated Fat: 4g
- Unsaturated Fat: 2g
- Trans Fat: 0g
- Carbohydrates: 20g
- Fiber: 0g
- Protein: 1g
- Cholesterol: 0mg